토픽, 구독
SQS 같은 서비스에서는 큐에 메세지를 넣고 받아서 처리한다.
큐에 들어온 메세지는 처리되면 사라진다.
유튜브를 구독하는 것 처럼 여러 개의 앱이 메세지를 받아서 처리 할 수 있게 한다.
1. Portal 에서 Service Bus 를 생성한다.
서비스 버스를 만들때 주의 사항이 있다.
요금제를 Basic 으로 하면 토픽은 없고 큐만 있다.
Premium 으로 선택하면 토픽을 사용 할 수 있다.

토픽을 만들었다면 이제 샘플 앱을 만든다.
샘플 앱 코드는 Azure 홈페이지에서 확인 할 수 있다.
How to use Azure Service Bus topics and subscriptions with Node.js
Learn how to use Service Bus topics and subscriptions in Azure from a Node.js app.
docs.microsoft.com
npm install @azure/service-bus 하고 사용한다.
const { ServiceBusClient } = require("@azure/service-bus");

// Define connection string and related Service Bus entity names here
const connectionString = "";
const topicName = "";

async function main(){
  const sbClient = ServiceBusClient.createFromConnectionString(connectionString);
  const topicClient = sbClient.createTopicClient(topicName);
  const sender = topicClient.createSender();

    try {
        for (let i = 0; i < 10; i++) {
          const message= {
            body: `Hello world! ${i}`,
            label: `test`,
            userProperties: {
                myCustomPropertyName: `my custom property value ${i}`
            }
          };
          console.log(`Sending message: ${message.body}`);
          await sender.send(message);
        }

        await topicClient.close();
      } finally {
        await sbClient.close();
      }
}

main().catch((err) => {
  console.log("Error occurred: ", err);
});
코드의 Connection String 과 topicName 을 채워 넣는다.
Connection String은 연결 문자열을 누르면 볼 수 있다.

Primary Connection String 을 가져온다.
topicName 은 만든 토픽 이름이다.
입력하고 node ***.js 로 코드를 실행한다.
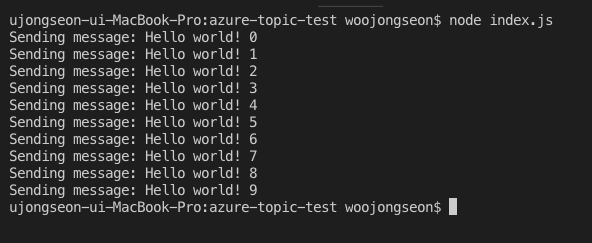
토픽으로 메세지가 발송 되었다.
그러면 이제 토픽을 구독해서 메세지를 받아보자.
사실 메세지를 받아서 처리하는게 더 중요하다.
메세지를 받는 코드도 Azure 문서 페이지에서 가져온다.
[
How to use Azure Service Bus topics and subscriptions with Node.js
Learn how to use Service Bus topics and subscriptions in Azure from a Node.js app.
docs.microsoft.com
const { ServiceBusClient, ReceiveMode } = require("@azure/service-bus");

// Define connection string and related Service Bus entity names here
const connectionString = "";
const topicName = "";
const subscriptionName = "";

async function main(){
  const sbClient = ServiceBusClient.createFromConnectionString(connectionString);
  const subscriptionClient = sbClient.createSubscriptionClient(topicName, subscriptionName);
  const receiver = subscriptionClient.createReceiver(ReceiveMode.ReceiveAndDelete);

  try {
    const messages = await receiver.receiveMessages(10);
    console.log("Received messages:");
    console.log(messages.map(message => message.body));

    await subscriptionClient.close();
  } finally {
    await sbClient.close();
  }
}

main().catch((err) => {
  console.log("Error occurred: ", err);
});
코드를 가져왔다면 Connection String , topicName, subscription Name 을 채워 넣는다.
Connection String , topic Name 은 보낼때처럼 입력하면 된다.
subscription name 은 아래 그림을 참고하면 만들 수 있다.
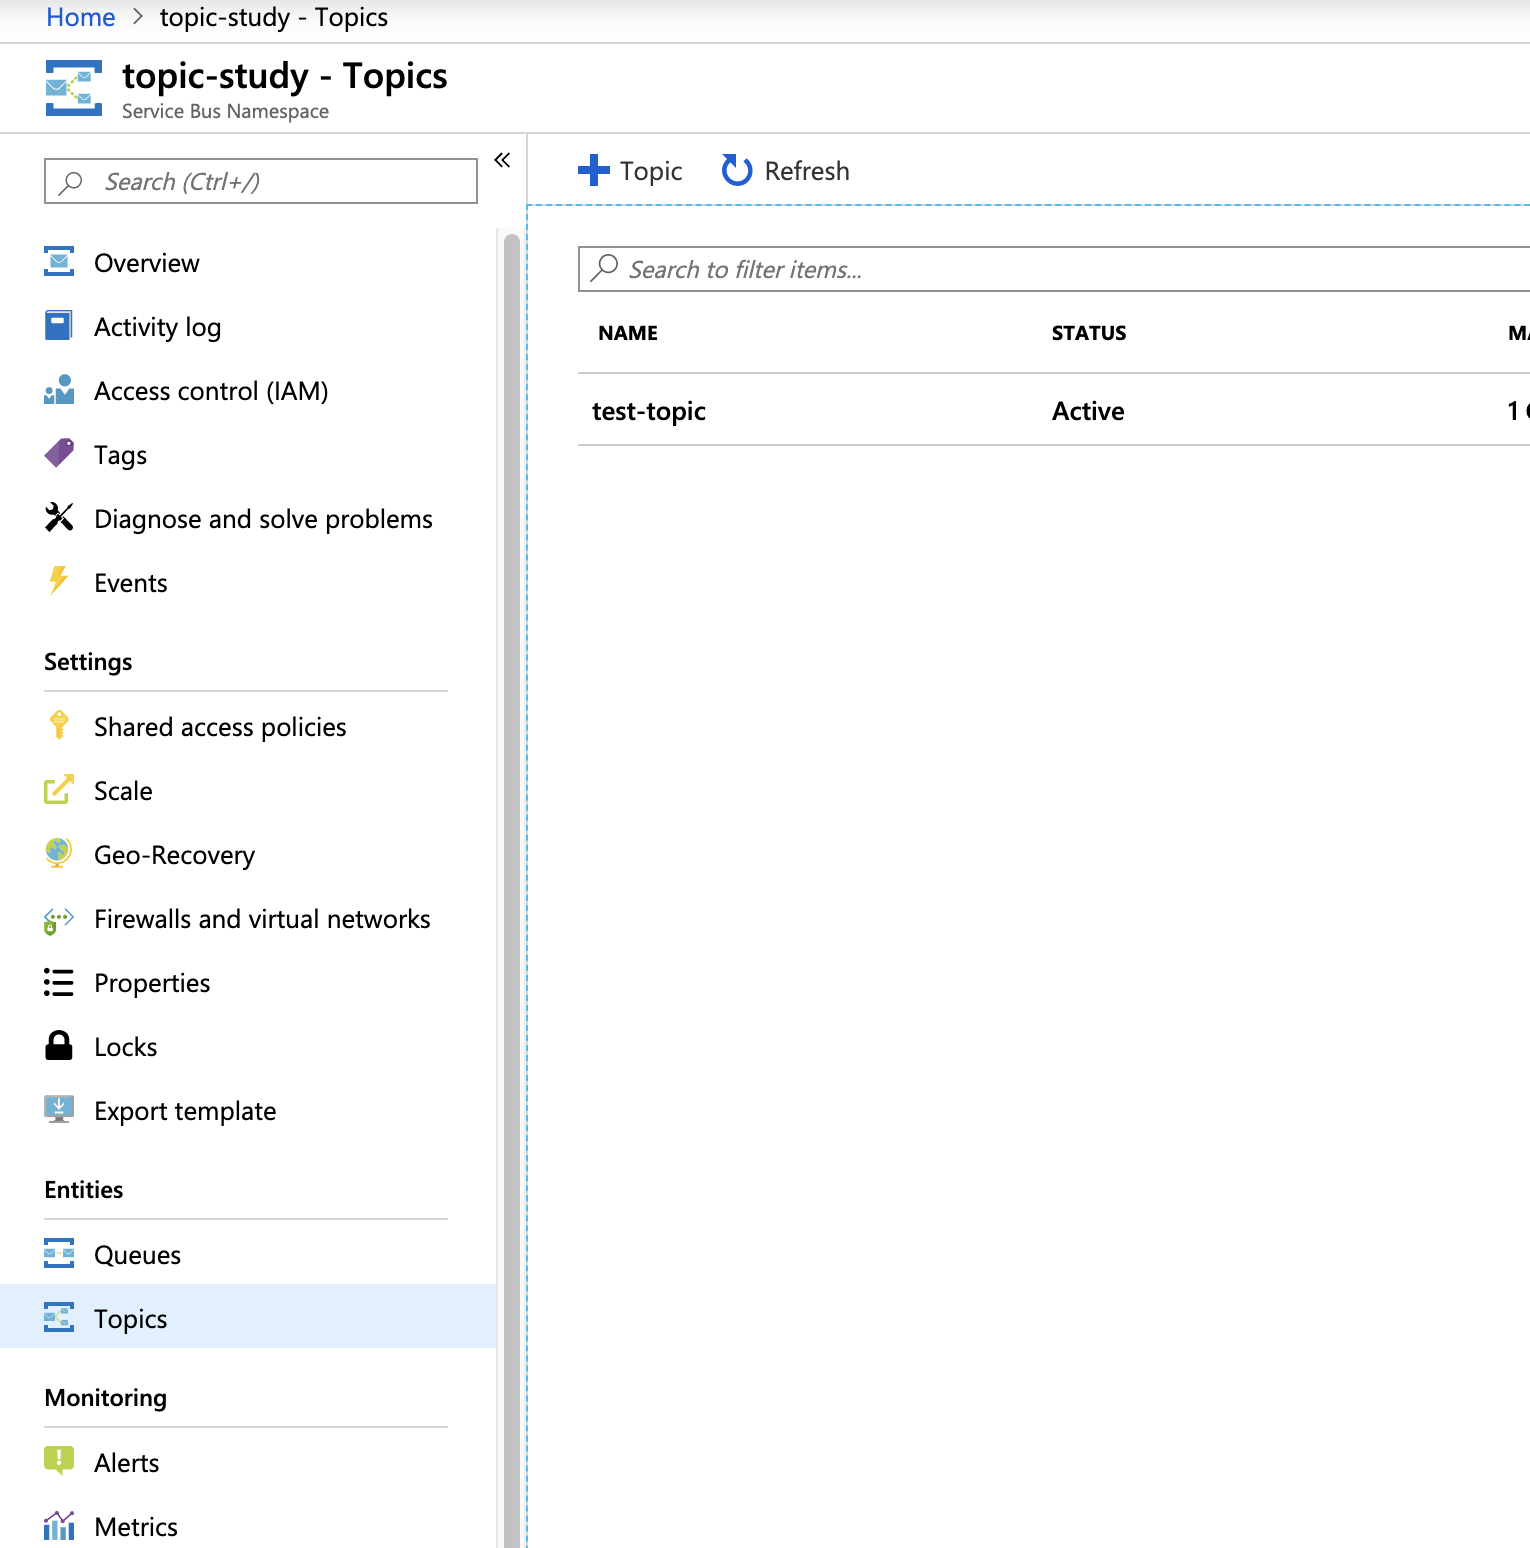
Topic 을 클릭한다.
그리고 만든 토픽 이름을 클릭해서 들어간다.

Subscription 을 생성한다.
생성했다면 코드에 Subscription name 을 채워 넣는다.
이제 코드를 실행한다.
보내는 코드를 먼저 실행한다.

받는 코드를 실행한다.

Function 앱과 함께 사용하면 더 유용하게 쓸 수 있다.
Bus에 메세지를 보내고 Function 앱은 Bus 에 메세지가 들어왔을 때 처리하도록 하면 된다.
이렇게 하면 여러 개의 Function 앱이 메세지를 처리 할 수 있다.
자 2개 이상의 Function app 에서 어떻게 사용하는지 살펴보자.
VS Code 에서 function 을 만든다.

VS code 에서 함수 앱을 만들려면 함수 확장 프로그램을 설치한다.
확장 프로그램을 설치하고 그림처럼 + 아이콘을 클릭한다.
클릭하면 함수 앱 프로젝트를 만들 수 있다.
만들고 나면 코드를 작성한다.
나는 여기서 2개의 function 이 팀즈에 메세지를 보내도록 구현했다.
여기서 주의 사항이 있다.
일단 portal에 구독을 2개 만들어야 한다.
Topic 은 1개 만들고 Subscription 은 2개 만들라는 얘기다.
2개의 function 프로젝트를 만들 때 무엇을 기준으로 function 이 실행될 지 정할 수 있다.
토픽에 메세지가 왔을때로 설정한다. 그리고 각각의 앱이 바라보는 Subscription 은 다르게 한다.
이렇게 만들었다면 세팅이 잘 됐다.
팀즈 봇을 개발하는 방법도 블로그에 적어뒀다.
팀즈 Teams 챗봇 개발 요약
슬랙, 카카오, 텔레그램 챗봇이 대세지만.. 팀즈를 누군가는 쓸수도 있겠지 봇은 app Studio에서 만든다. app studio 를 먼저 설치한다. 봇을 Bot framework 나 azure console 에서 만들 수도 있다. app studio 가..
fors.tistory.com
function 앱의 코드를 작성한다.(function 1)
const { startChat } = require('./teamsService');
module.exports = async function(context, mySbMsg) {
    context.log('JavaScript ServiceBus topic trigger function processed message', mySbMsg);
    startChat(mySbMsg);
};
index.js
const config = require('./config');
const builder = require('botbuilder');
const teams = require('botbuilder-teams');

const connector = new teams.TeamsChatConnector({
	appId: config.teamsAppId,
	appPassword: config.teamsAppPassword,
});

const inMemoryBotStorage = new builder.MemoryBotStorage();
const bot = new builder.UniversalBot(connector, (session) => { }).set('storage', inMemoryBotStorage);

const startChat = (message) => {
	connector.fetchChannelList(config.serviceUrl, config.platformDevPartTeamId, (err, result) => {
		const channel = result.find((item) => {
			return item.name === '테스트용';
		});
		const msg = new teams.TeamsMessage();
		msg.text(`topic func 1 ${message}`);
		connector.startReplyChain(config.serviceUrl, channel.id, msg, (err, address) => {
			if (err) {
				console.log(err);
			}
			else {
				bot.send(msg);
			}
		});
	});
}

module.exports = {
	startChat
}
teamsService.js
function 앱의 코드를 작성한다.(function 2)
const { startChat } = require('./teamsService');
module.exports = async function(context, mySbMsg) {
    context.log('JavaScript ServiceBus topic trigger function processed message', mySbMsg);
    startChat(mySbMsg);
};
index.js
const config = require('./config');
const builder = require('botbuilder');
const teams = require('botbuilder-teams');

const connector = new teams.TeamsChatConnector({
	appId: config.teamsAppId,
	appPassword: config.teamsAppPassword,
});

const inMemoryBotStorage = new builder.MemoryBotStorage();
const bot = new builder.UniversalBot(connector, (session) => { }).set('storage', inMemoryBotStorage);

const startChat = (message) => {
	connector.fetchChannelList(config.serviceUrl, config.platformDevPartTeamId, (err, result) => {
		const channel = result.find((item) => {
			return item.name === '테스트용';
		});
		const msg = new teams.TeamsMessage();
		msg.text(`topic func 2 ${message}`);
		connector.startReplyChain(config.serviceUrl, channel.id, msg, (err, address) => {
			if (err) {
				console.log(err);
			}
			else {
				bot.send(msg);
			}
		});
	});
}

module.exports = {
	startChat
}
teamsService.js

이런 식으로 만든다.
자 이제 function을 배포한다.

화살표를 클릭하면 배포 할 수 있다.
여기서 주의 사항이 있다.
배포하고 나서 Service_Bus 주소를 못 읽는 에러가 발생 할 수 있다.
Application Settings에 Service_Bus주소를 등록해줘야 한다.

Service_Bus의 이름을 topic-study라고 했었다.
Application Settings를 오른쪽 클릭하고 속성을 추가하면 된다.
function 을 배포하기 전에는 function이 목록에 표시되지 않을 것이다.
처음 배포하고 나서 목록에 표시되면 Application Settings를 고쳐준다.
그리고 다시 배포하면 된다.
이제 토픽에 메시지를 보내는 코드를 다시 실행한다.
const { ServiceBusClient } = require("@azure/service-bus");

// Define connection string and related Service Bus entity names here
const connectionString = "Endpoint=sb://topic-study.servicebus.windows.net/;SharedAccessKeyName=RootManageSharedAccessKey;SharedAccessKey=j6JnOv+ESJj2DuX9jRkqW3MT3y6JPELfoJRlItHVPto=";
const topicName = "test-topic";

async function main() {
  const sbClient = ServiceBusClient.createFromConnectionString(connectionString);
  const topicClient = sbClient.createTopicClient(topicName);
  const sender = topicClient.createSender();

  try {
    for (let i = 0; i < 1; i++) {
      const message = {
        body: `Hello world! ${i}`,
        label: `test`,
        userProperties: {
          myCustomPropertyName: `my custom property value ${i}`
        }
      };
      console.log(`Sending message: ${message.body}`);
      await sender.send(message);
    }

    await topicClient.close();
  } finally {
    await sbClient.close();
  }
}

main().catch((err) => {
  console.log("Error occurred: ", err);
});
function 이 팀즈에 알림을 준다.
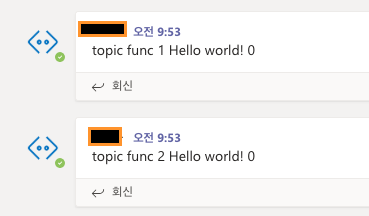
같은 토픽을 구독해서 알림을 주는 function app 2개가 만들어졌다!
'Azure | AWS' 카테고리의 다른 글
| EKS를 도입하면서 정리한 글 - 쿠버네티스 ImagePullBackOff , Image 에러 해결 (2) | 2020.04.20 |
|---|---|
| aws aurora db 연결하기 - 엔드포인트 오류 해결 (0) | 2020.04.17 |
| AWS CodeStar - Serverless 앱 만들기 (2) | 2020.04.09 |
| Elastic beanstalk 리전 변경하기 (0) | 2020.04.03 |
| AWS Elastic beanstalk (0) | 2020.02.13 |


댓글